See the stand before it reaches the show floor.
3D exhibition stand design turns a booth brief into a visual concept that can be reviewed for layout, branding, materials and visitor experience before fabrication.
From dimensions to a visual direction.
- Collect booth size, open sides and venue constraints.
- Plan visitor flow, reception, displays, meetings and storage.
- Apply brand identity, graphics, finishes and lighting direction.
- Review the concept and confirm the approved direction for production.
Different visual directions, one planning principle.
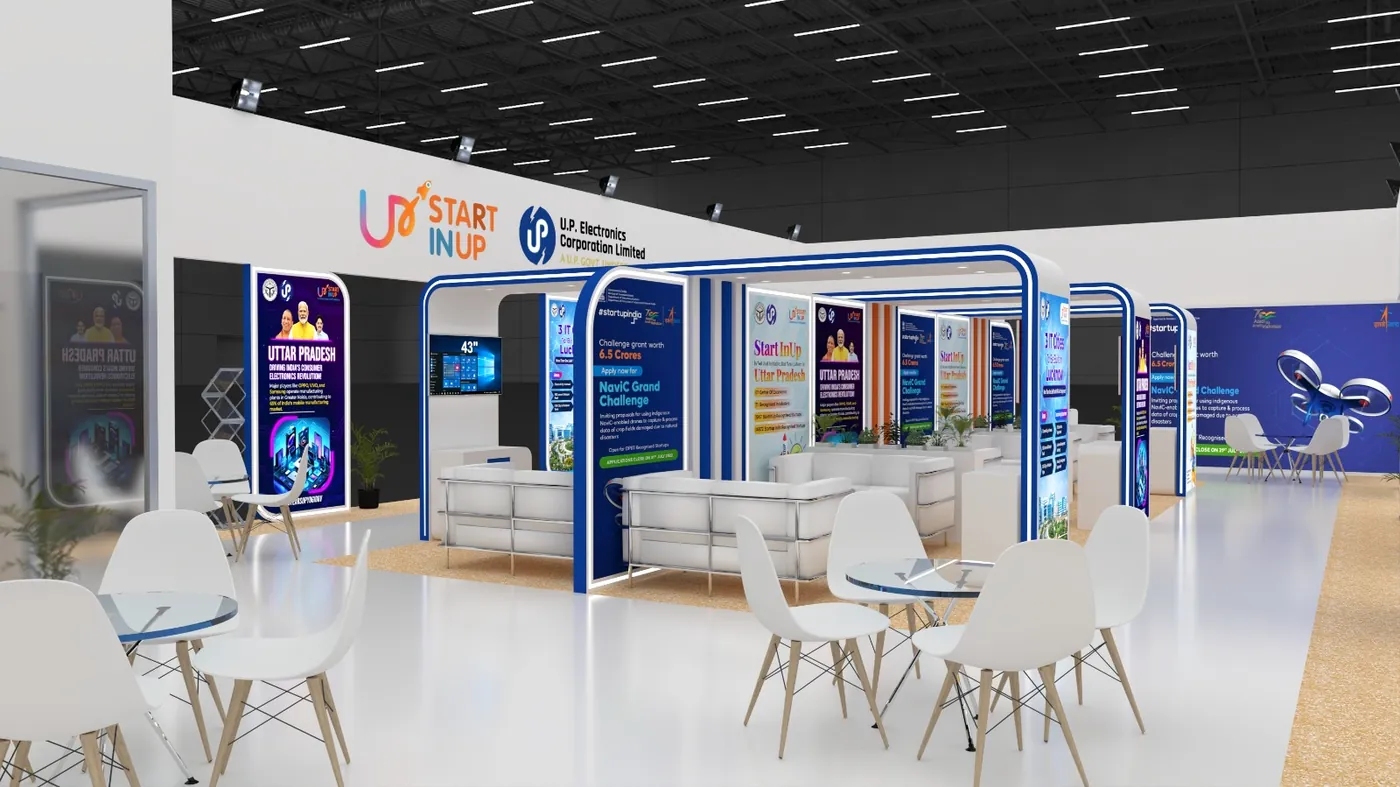
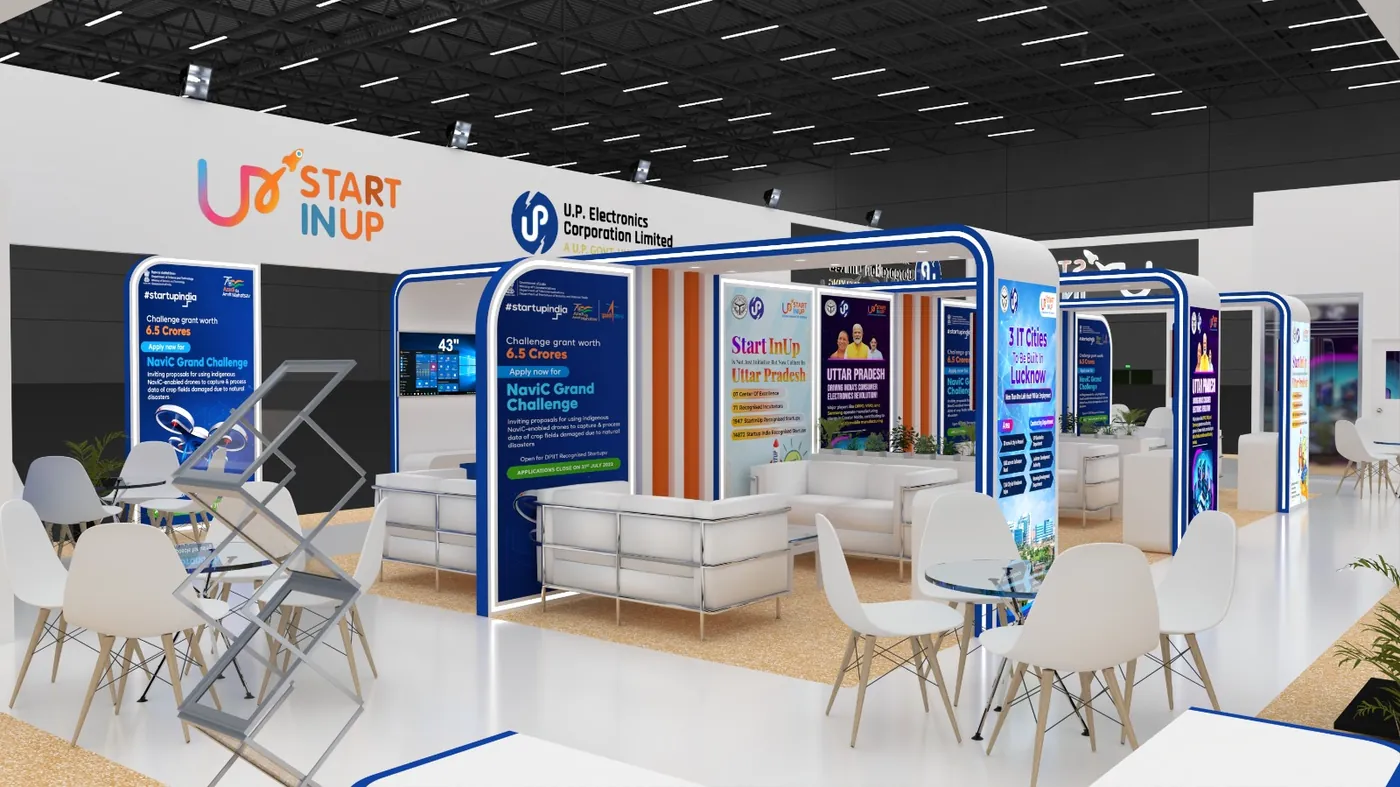
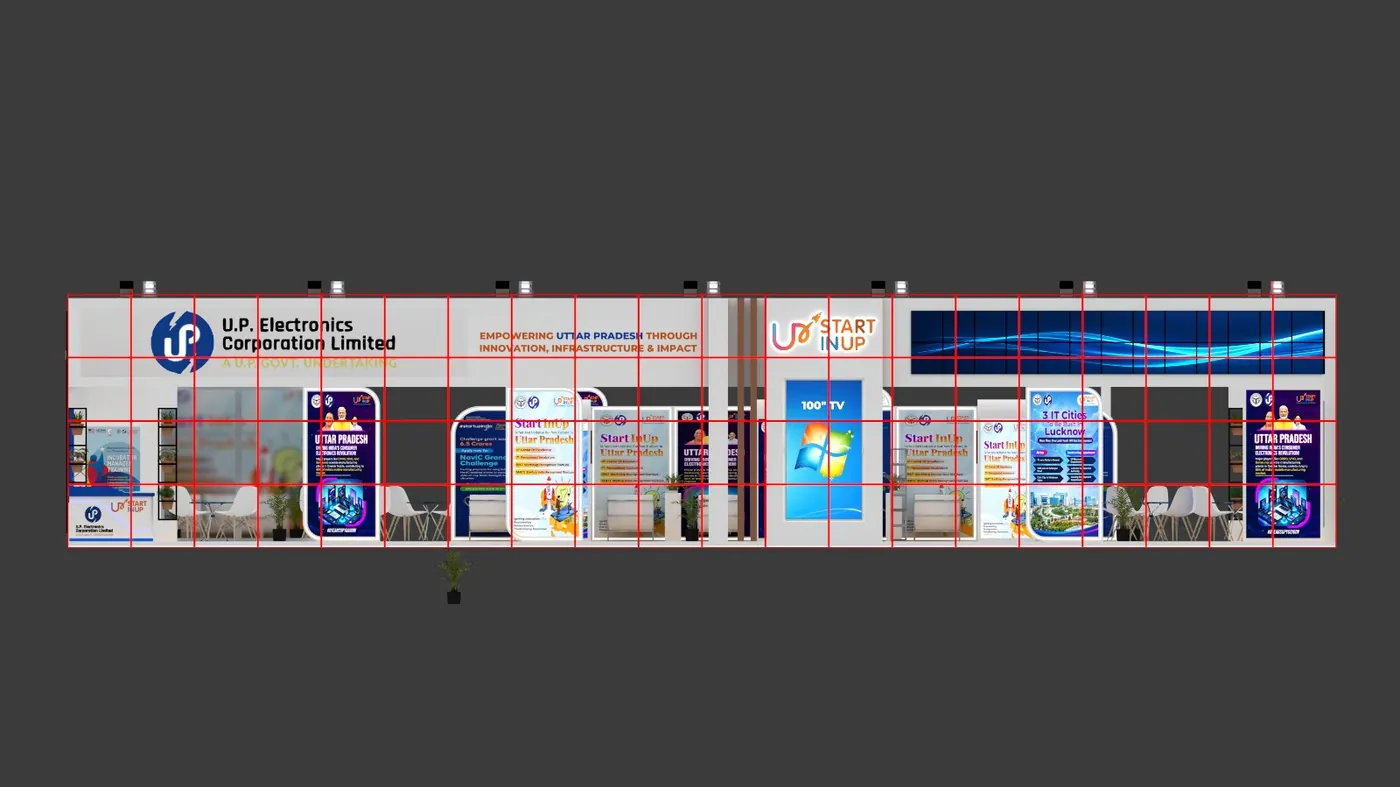
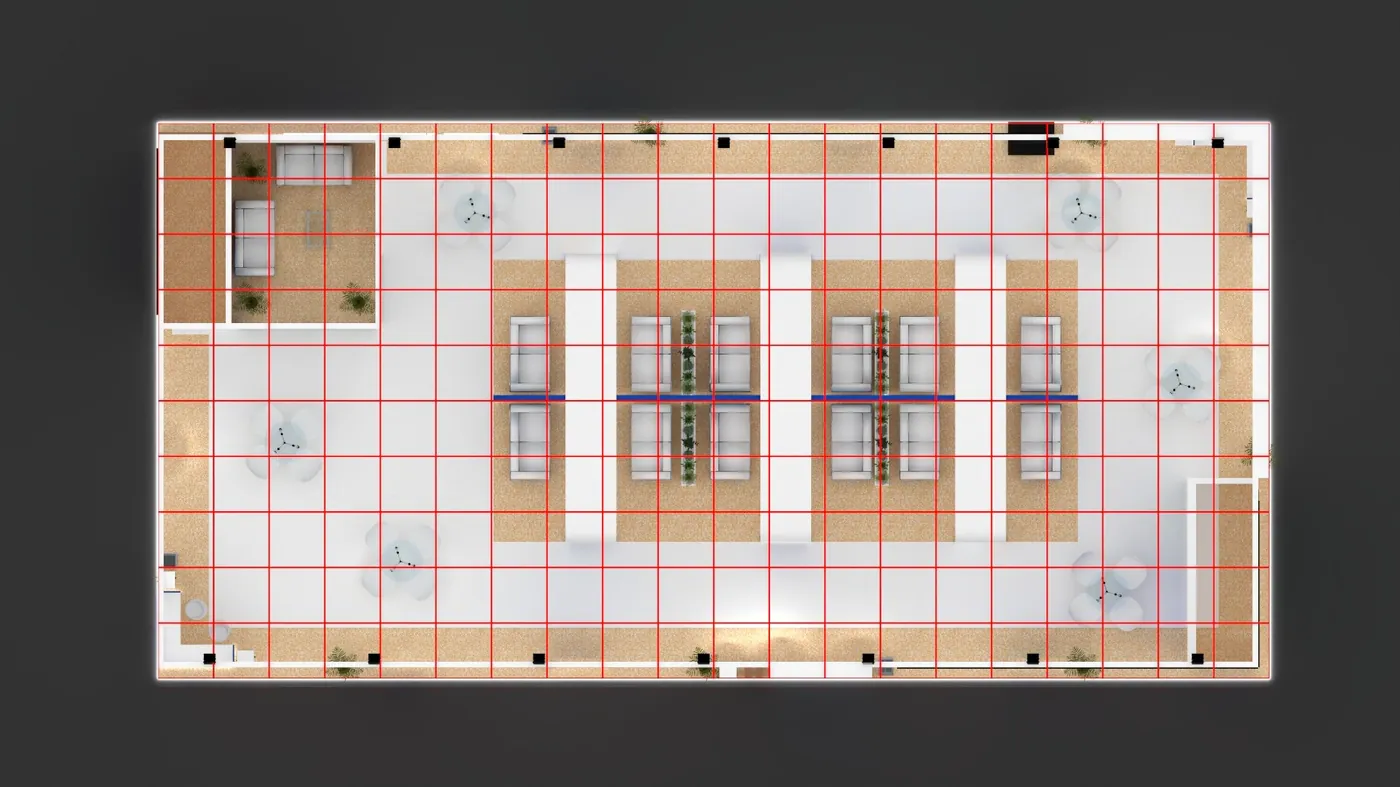
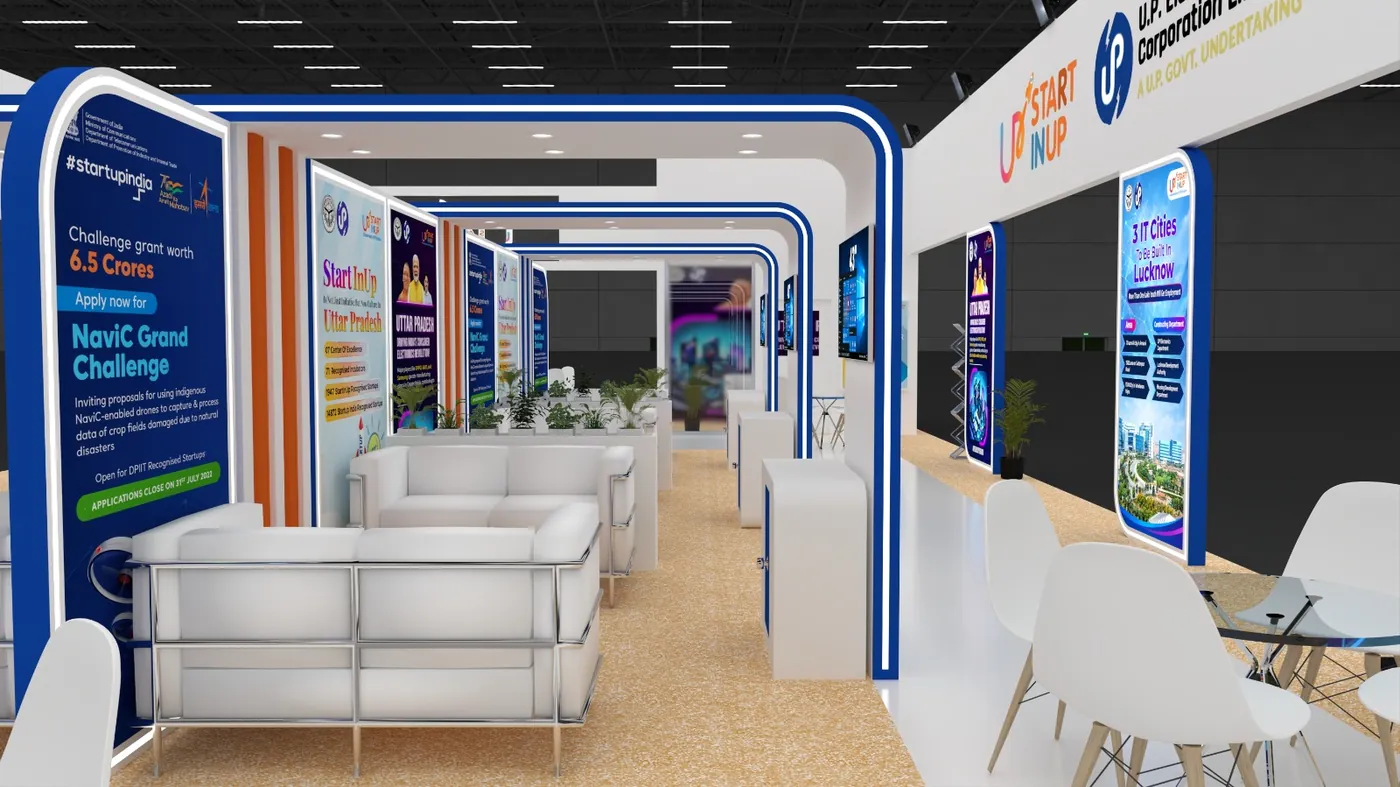
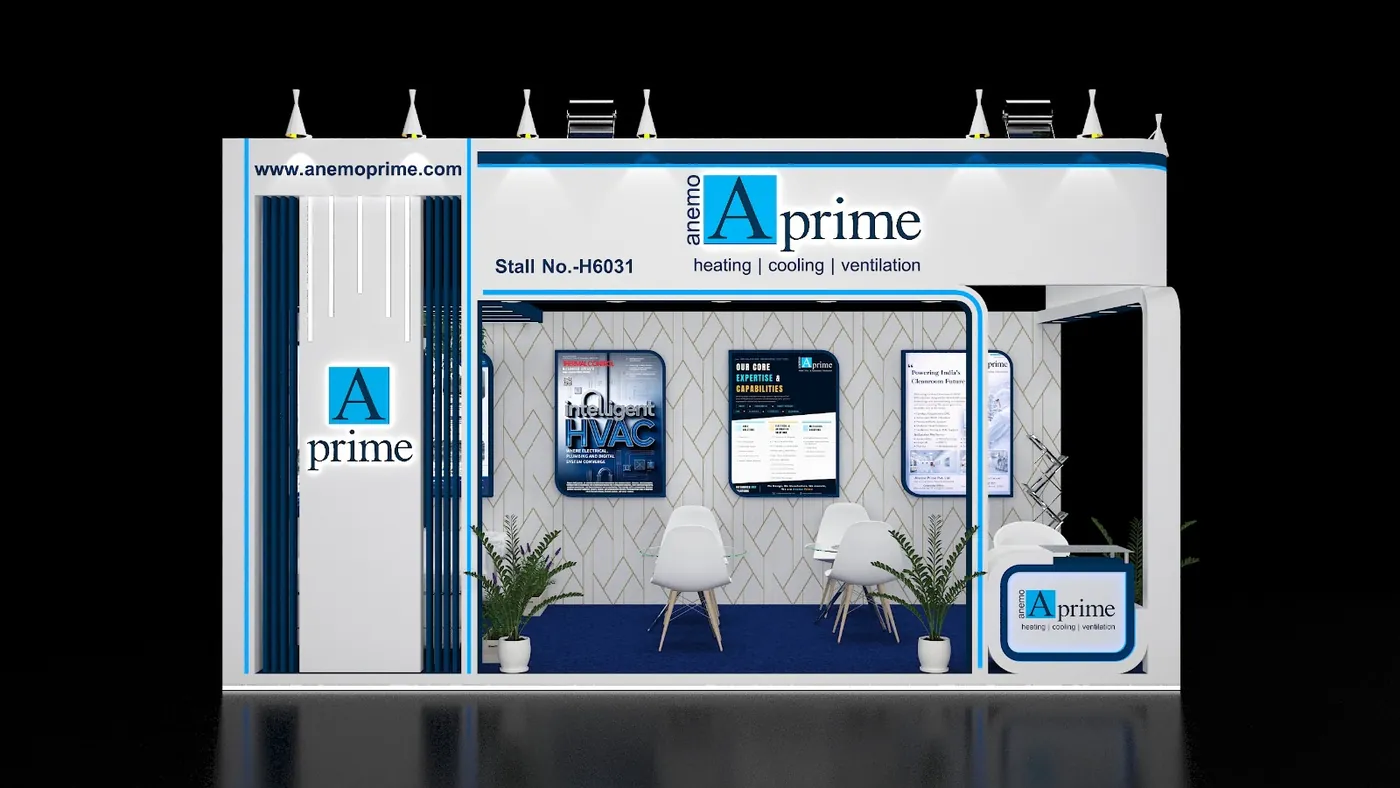
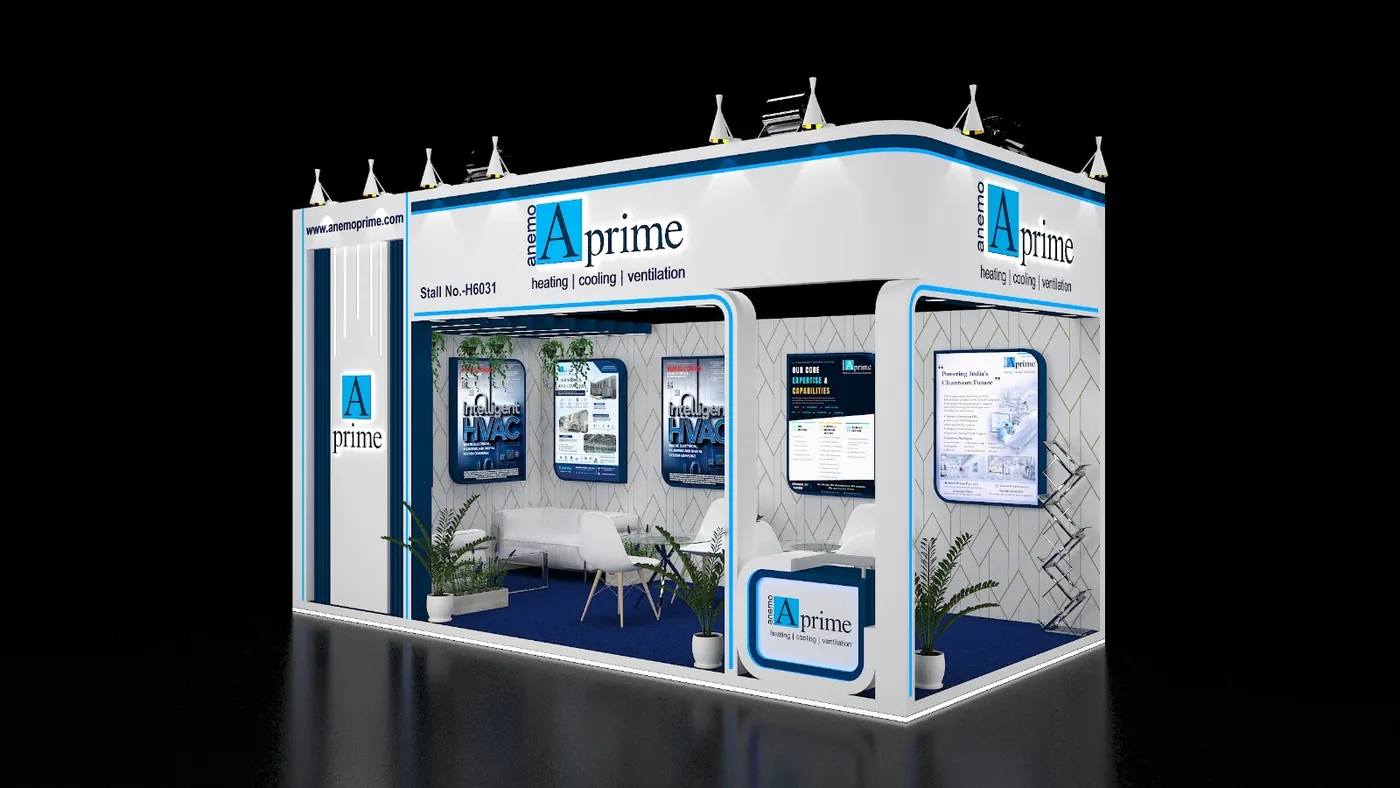
The supplied image set contains corporate, premium, retail, technology and dark experiential concepts. Use the gallery to communicate the style you want.
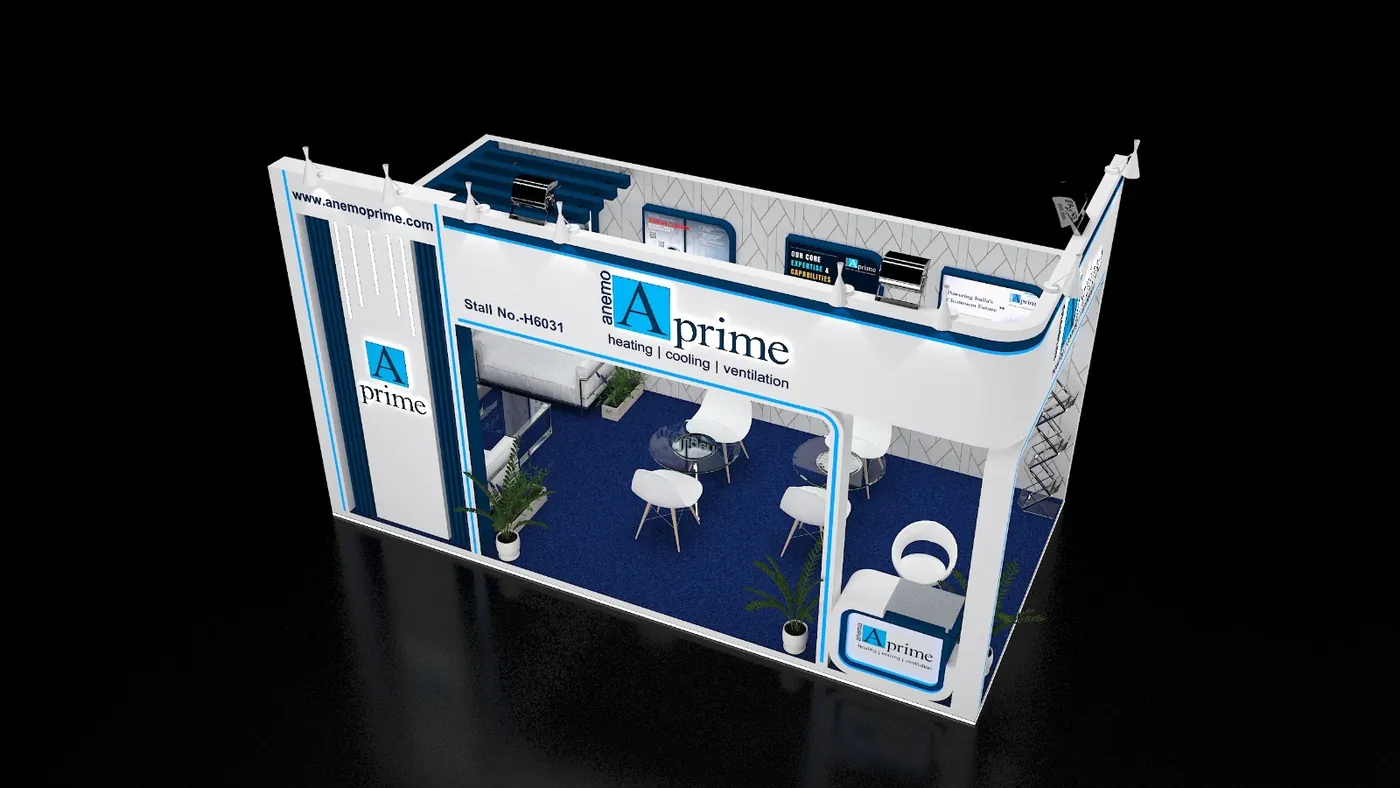
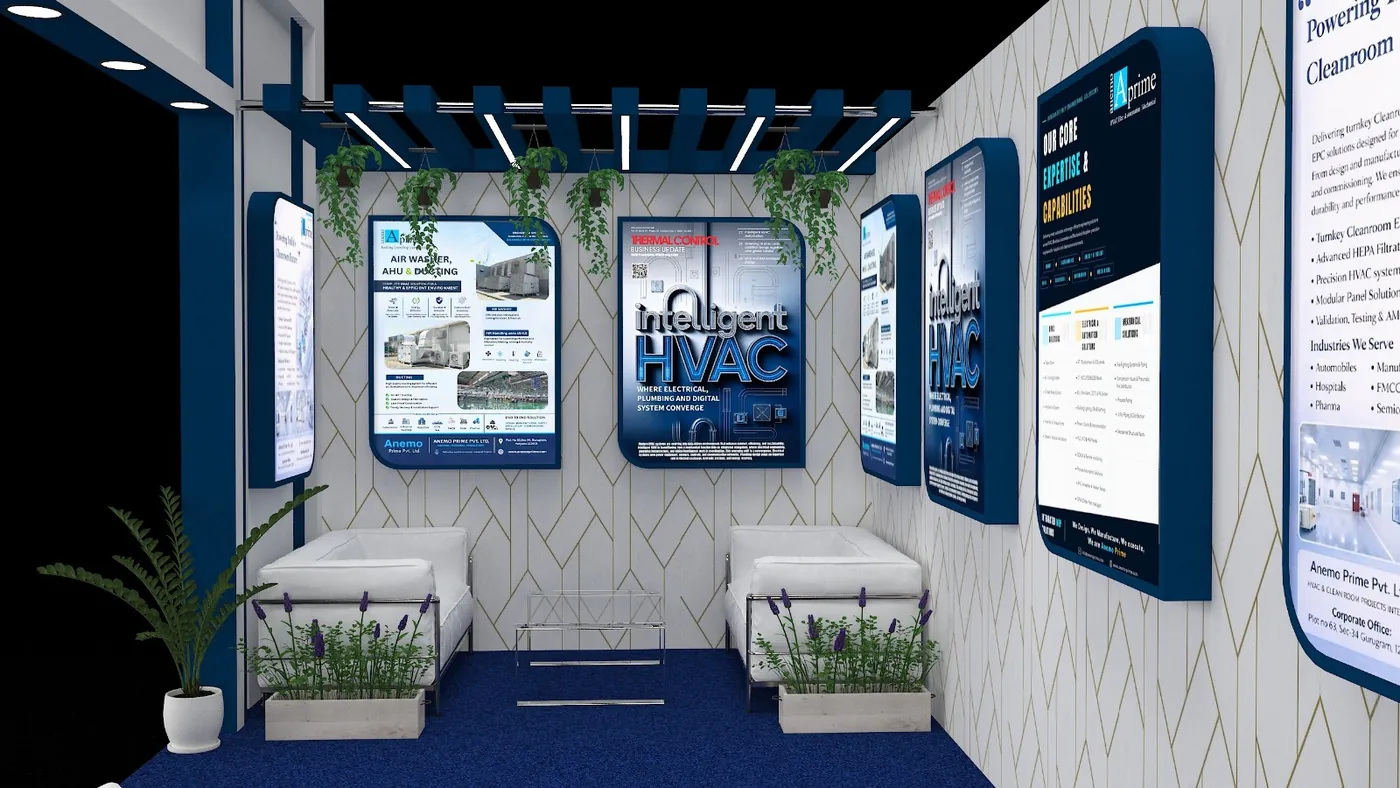
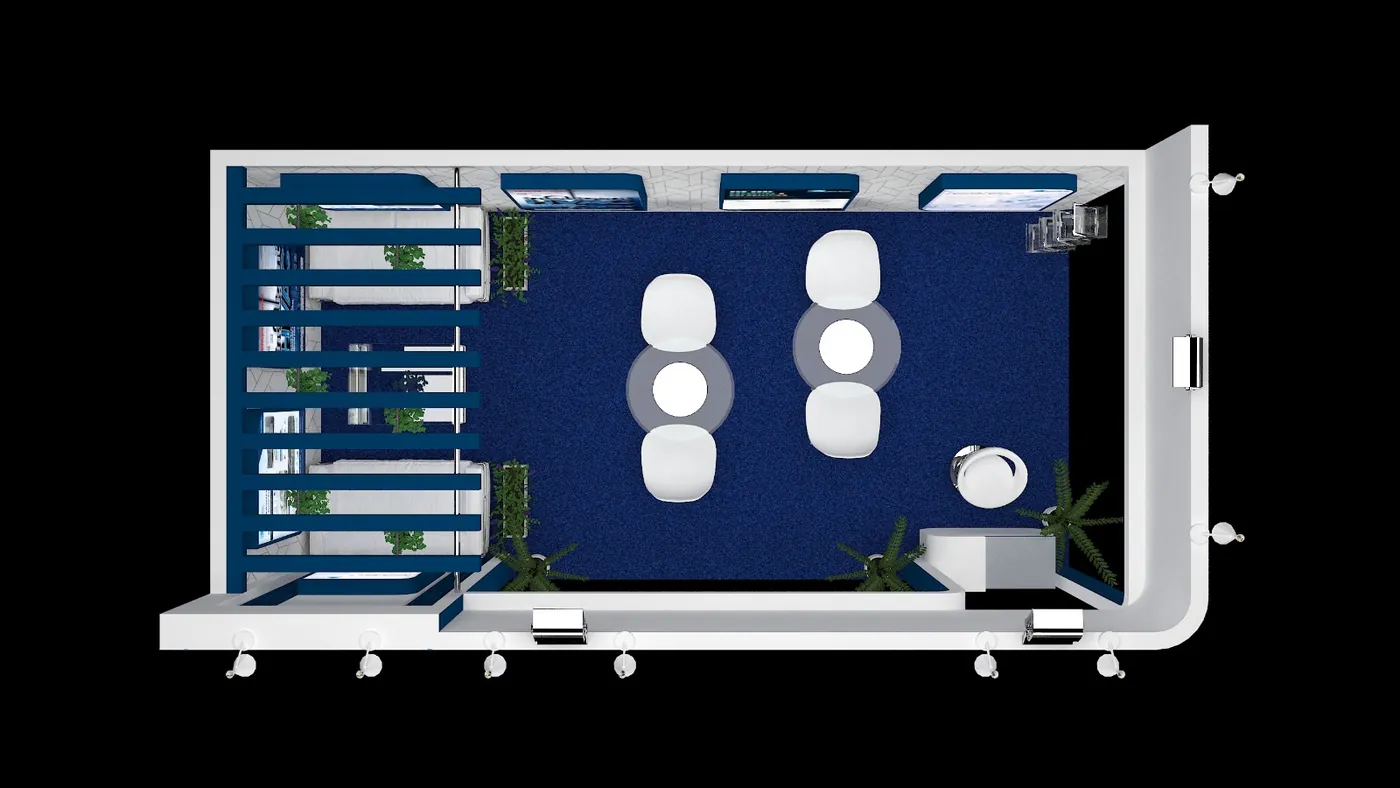
3D exhibition design questions.
What is 3D exhibition stand design?
It is a visual planning stage that represents the proposed stand layout, branding, materials, lighting and visitor-facing areas before fabrication.
Why use a 3D design before fabrication?
A 3D concept makes it easier to review proportions, visibility, circulation, meeting areas and brand placement before production decisions are finalized.
What should be included in a 3D stand brief?
Provide booth dimensions, open sides, event details, brand guidelines, logo files, required rooms or counters, product displays and any reference styles.
See the stand before it is built.
3D visualisation turns an exhibition brief into a space that stakeholders can see, discuss and refine. Instead of approving a flat idea and discovering spatial problems during fabrication, the project team can review the booth from realistic viewpoints before production.
A useful 3D concept is not simply a decorative render. It should communicate layout, proportions, branding, materials, furniture, lighting direction, product placement and the relationship between public and private areas.
What a 3D exhibition concept can help you evaluate
- How the stand looks from the main aisle approach
- Whether the brand message is visible at useful distances
- How open or enclosed the meeting area feels
- Whether products have enough space and visual hierarchy
- Where storage, reception and staff functions fit
- How lighting and feature elements affect the atmosphere
- Whether the overall composition feels balanced within the booth footprint
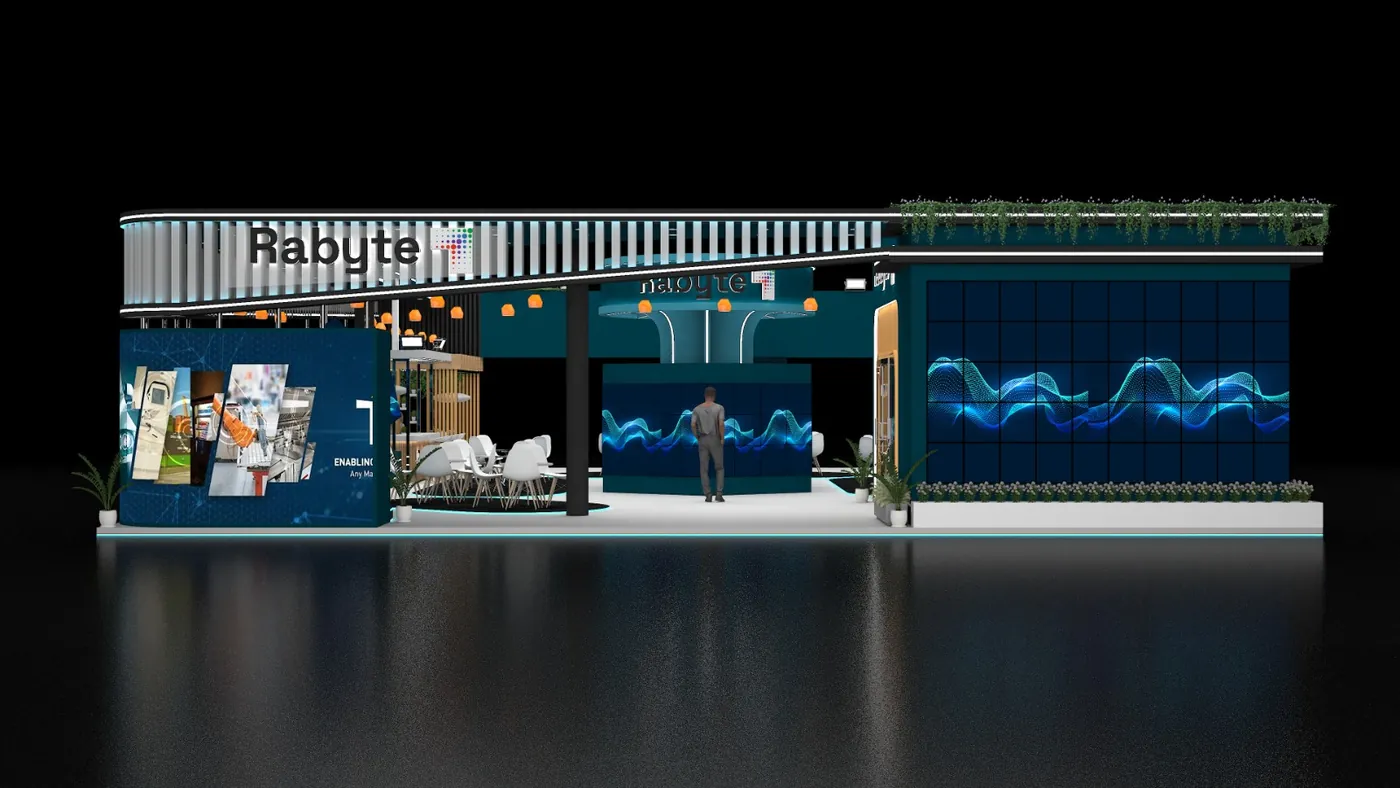
Good visuals create a common language for the project team.
Marketing teams can focus on brand presentation. Sales teams can review meeting and demonstration areas. Operations can check storage and movement. Production teams can identify build details that need attention.
That shared reference is especially useful when several stakeholders need to approve the same exhibition environment.
From brief to final visual direction.
The exact number of review rounds depends on the project, but the logic remains consistent.
Collect the brief
Booth size, event information, brand assets, products, functional requirements and reference styles.
Build the layout
Define zoning, circulation, meeting areas, displays, reception, storage and primary visual points.
Develop the 3D view
Translate the layout into a realistic visual direction with materials, branding, lighting and furniture.
Approve the direction
Review proportions, messaging and functions before the concept moves toward fabrication.
What information should you send?
The more useful the input, the more specific the design can be. A simple first brief can include the booth size, exhibition name, city, dates, open sides, logo files, brand colours and a description of products or services to feature.
Helpful extras include photographs of previous stands, competitor references, preferred materials, meeting-room requirements, display dimensions, screen sizes and any venue-specific restrictions already provided by the organiser.
Share the booth dimensions and tell us what you want visitors to experience.
The 3D stage can then be scoped around the layout, branding, functions and visual direction you need.
A 3D model can answer questions that a mood board cannot.
People often approve exhibition ideas while looking at individual references: a wall treatment from one stand, a counter from another, a lighting effect from a third. The challenge is understanding how those ingredients behave together inside one footprint. A 3D environment brings them into the same frame.
That makes it easier to review scale, proportion, circulation and brand hierarchy. For example, a large feature element may look impressive in isolation but occupy too much of the usable floor area. A meeting room may appear comfortable until the circulation around it is considered. A product display may need more open space so visitors can stop without blocking the main aisle.
3D is also a communication tool
Different stakeholders interpret plans differently. A management team may focus on the overall impression, sales may focus on meetings, marketing may focus on graphics, and production may focus on build details. A shared visual reference lets those conversations happen around the same proposed space.
What should be confirmed before approval?
- Overall footprint and open sides
- Primary brand message and logo visibility
- Product/demo placement
- Meeting and hospitality capacity
- Storage access
- Lighting and AV positions
- Material and finish direction
- Venue-specific restrictions already available